Hi, guys, My name is
Jing Zhang, this my first ‘making of’ tutorial on CGarchitect.
Before starting to introduce my project, I must thank CGarchitect and Jeff Mottle for giving me this opportunity to do so. Much appreciated.
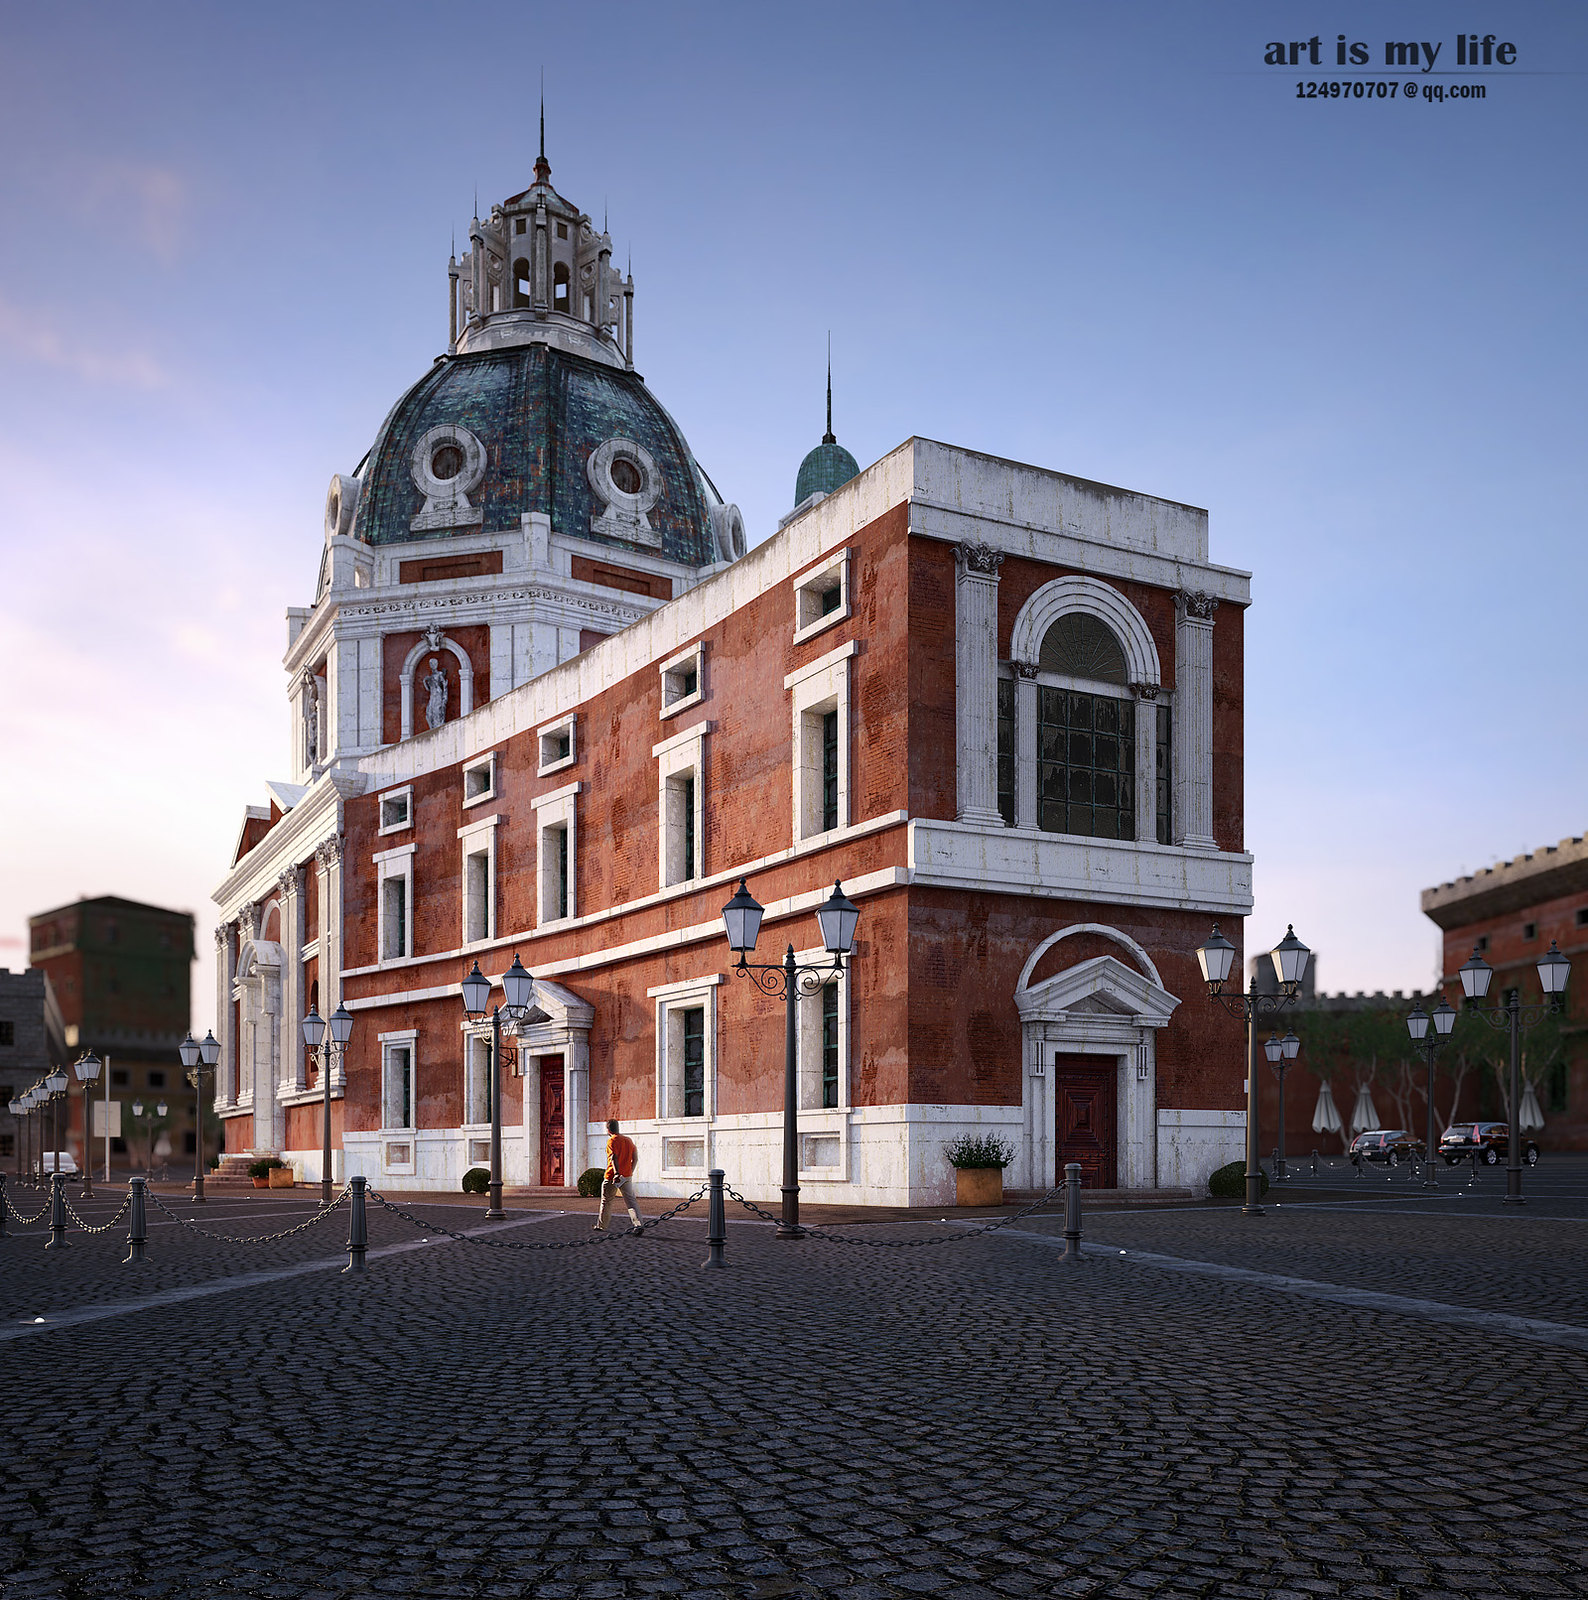
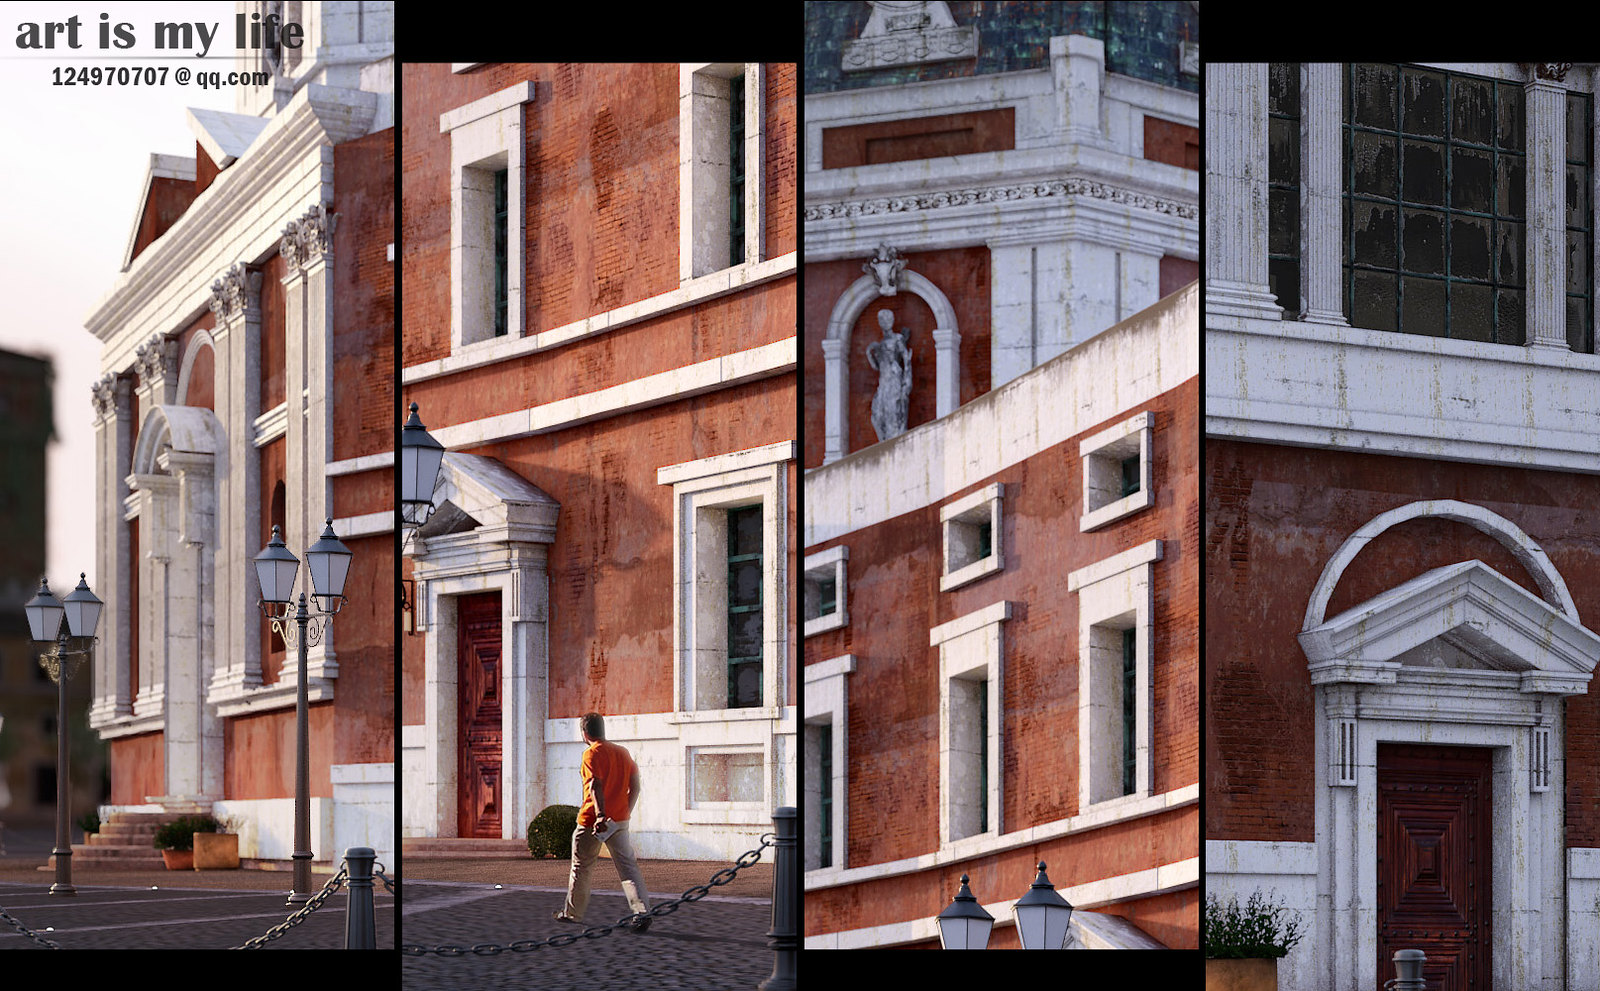
I have been fond of Rome buildings and decided to make a series of projects named ”Rome buildings’ in my leisure time. This is one of the projects in that series.
I used 3ds Max, V-Ray and Photoshop in making these pictures.
The building was inspired by Chiesa di Santa Maria di Loreto.

The Final Image:

Workflow
I. Preparation: I collected materials for the project, drew inspiration from pictures, websites and dreams : )
II. Modeling: I began modeling based on available data and my imagination. I usually use edittable poly for modeling. Trees, cars and lamp posts were mostly from Evermotion.
III. Texture: most texture were from CGTextures
IV. Lighting: I used VRay sun and HDRI.
V. Rendering and post production: I used V-Ray for rendering and Photoshop and AE for post production.
Preparation
I spend quite some time collecting materials for the project. I’ve found lots of beautiful pictures from internet and magazines.
Modeling
I used SketchUp to make building shapes and 3ds Max for more details. Columns and sculptures were from my model database.

Then I merged details, such as trees shrubs and lamp posts, into the scene.

I made ivy with “gwIvy”, a very good plugin.
Texture
Materials and Textures
I used mostly VR blend and VRAY dirt for materials.
Stone Material
 Wall Material
 Dome Materials
 Stone ground materials
Lighting
The lighting settings are very easy, I used HDRI, VR light Dome + VRsun
VRSun settings

Setting of VR Dome Light

Environment and HDRI
VRay camera setting
Rendering and Post Production
Rendering settings are nothing special. Most are default settings.
I completed post production with Photoshop, through brightness correction, color correction and added people in. Depth of field was achieved with After Effects.


